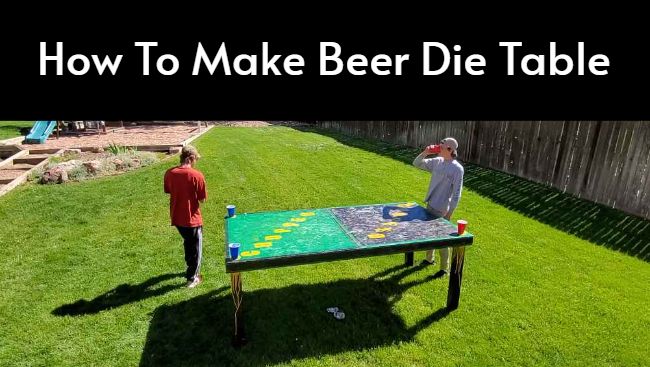
Are you looking for a fun game that is perfect for backyard gatherings? Beer die, also known as Beirut or beer pong, is an exciting drinking game that requires a table to play. Making your own beer die table can be easy and affordable if you have the right materials. So, how to make a beer die table?
This article will provide step-by-step instructions on how to make a beer die table so you can enjoy playing this classic game with friends and family. With a little bit of effort, you’ll soon have your very own custom beer die table!
What is Beer Die Table?
Beer die, also known as beer dye or snappa, is a game played by two teams of two people each. The goal of the game is to throw a set of wooden beer die pieces into your opponent’s cup and back to your side without it being caught. Beer die tables provide a sturdy platform for beer die games.
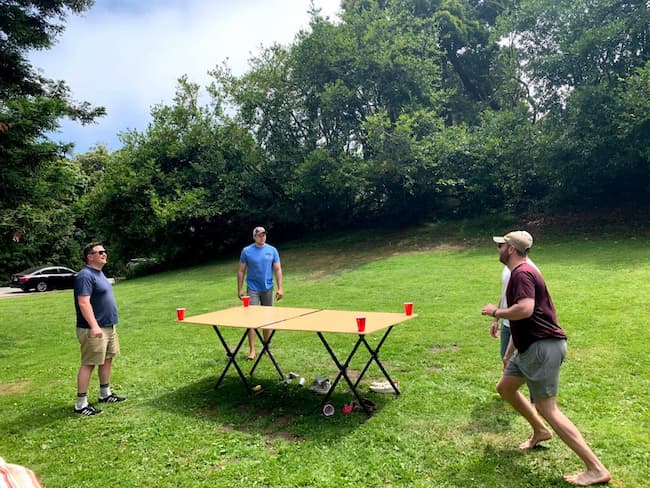
This game is played all over the world, particularly in countries like USA and Australia, and can be enjoyed by people of all ages. Making a beer die table isn’t as complicated as it may seem. With just a few simple materials, you can easily build your own beer die table for hours of fun and entertainment. Before you read on, see how many gallons in a beer barrel.
Requirements to Make a Beer Die Table
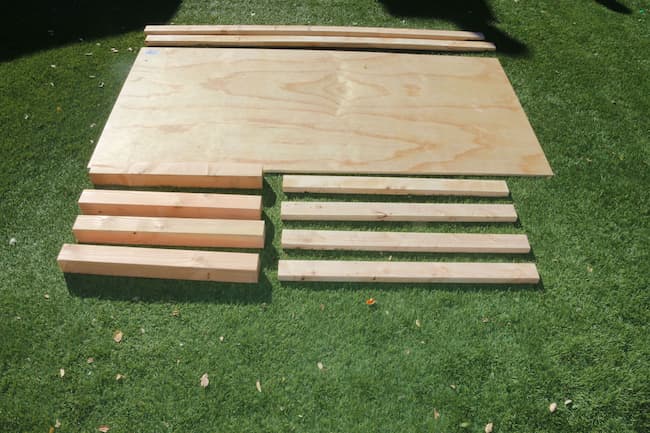
Here’s a list of materials needed to make a beer die table:
- Plywood
- Screws
- Nails
- Hammer
- Saw
Dimensions of Beer Die Table
The standard dimensions of a beer table are 8×4 feet, with a 2×4 foot playing surface. However, depending on your preferences and available space you could make any size table. Make sure the height is comfortable for playing, usually around waist level.
Read our other article: How do you infuse beer with Helium
How To Make a Beer Die Table
A DIY beer die table is not much difficult to make and only requires basic woodworking skills. Here is the step-by-step guide to make a beer die table:
Step 1 – Measure and Cut Plywood
Start by cutting the plywood into three equal parts using your saw. These pieces will form the top, bottom, and sides of the table. Cut the legs according to your desired height.
Step 2 – Assemble Table Frame
Lay out the pieces of plywood in a rectangular shape and use nails and screws to hold them together. Secure the pieces of plywood together by using screws, nails, and a hammer. Make sure the corners are properly aligned and all the edges are flush before moving on to the next step.
Step 3 – Attach Legs to Table Frame
Attach four legs to each corner of the frame. You can use screws or nails to do this. Make sure the legs are evenly spaced and securely attached so the table does not wobble during gameplay. Use a hammer, screws, and nails to secure the legs.
Step 4 – Sand Table
Once the beer die table is assembled, you will want to sand down any rough edges or splinters that may have formed during construction. This will provide a smoother surface and will help prevent any injuries caused by splinters or sharp edges.
Step 5 – Paint Table

You can choose to paint your beer die table in any color you want. Choose a water-resistant paint and apply it using a brush or roller. Allow the paint to dry before playing on the table.
Conclusion
That was all about how to build a beer die table. It’s not difficult to make a beer die table and requires only basic woodworking skills. With a few simple materials and some basic instructions, you can easily build your own beer die table for hours of fun and entertainment. So go ahead, get building! If you need any help or have a doubt about making this table, reach out to our Chillbeer.net team. We will be happy to help.