Want to know how to make beer can chicken? You came to the right place. Beer can chicken is a delicious and easy way to cook a whole chicken. This method of cooking creates tender, juicy meat while infusing the bird with flavor from your favorite beer.

Not only is it simple to make, but you’ll also have an impressive-looking dish once it’s finished! In this article, we’ll walk you through how to make beer can chicken in just a few steps so that you can enjoy this tasty meal any night of the week.
What is Beer Can Chicken?
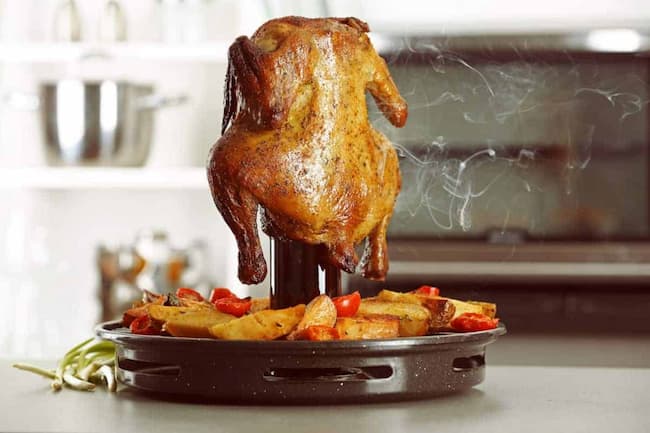
Beer can chicken is a popular cooking technique that involves roasting a whole chicken while it sits on an upright beer can. As the beer heats up, the steam and flavor from the beer infuse into the chicken. The result is a tender, juicy bird with a flavorful kick.
Required Ingredients
The main ingredients are whole chicken and beer here. If you don’t have a beer can, there is no point in making a beer can chicken. Know what time do gas stations stop selling beer here.
- ⅓ cup brown sugar
- 2 tablespoons chili powder
- 2 tablespoons paprika
- 2 teaspoons dry mustard
- ½ teaspoon salt
- ¼ teaspoon ground black pepper
- ½ (12 fluid ounces) can of beer
- 1 (3 pounds) whole chicken
How To Make Beer Can Chicken?
If you want to make beer can chicken, here’s what you need to do:
Firstly, preheat your outdoor grill to 375 degrees F (190 degrees C). Then, prepare the seasoning mix by combining brown sugar, chili powder, paprika, dry mustard, salt, and black pepper in a small bowl. Place a half-full can of beer in the center of a plate.
Rinse your chicken under cold running water and discard the giblets and neck. Drain and pat dry your chicken. Fit the whole chicken over the can of beer with the legs on the bottom, keeping it upright.
Sprinkle 1 teaspoon of seasoning mix into the top cavity of the chicken – here, you may find that it foams up when seasonings fall inside the can! Rub the remaining seasoning mix over the entire surface of your chicken. Place the chicken, standing on the can, directly on the preheated grill.
Close the lid and cook for 1 hour 15 minutes until no longer pink at the bone and the juices run clear. You should check with an instant-read thermometer inserted into the thickest part of the thigh, near the bone and it should read 165 degrees F (74 degrees C).
Once cooked, remove your beer can chicken from the grill and discard the beer can. Cover with a doubled sheet of aluminum foil, allowing to rest in a warm area for 10 minutes before slicing.
Looking for the best high-end scotch glasses? Tap the link now.
How Long to Cook Beer Can Chicken?
Beer can chicken is usually cooked for about 1 hour and 15 minutes on a preheated grill with the lid closed. To be sure it’s done, check the internal temperature of the chicken with an instant-read thermometer – it should read 165 degrees F (74 degrees C). Once the chicken is cooked through, you can let it rest in a warm area for 10 minutes before slicing and serving.
Beer Can Chicken Making Tips
You know how to make beer can chicken already. We have some tips for you.
- If you’re using a pre-made seasoning mix, you may want to cut the amount of salt called for in half.
- If your chicken begins to blacken too quickly on the outside, move it farther away from direct heat or lower the temperature of the grill slightly.
- For even more flavor, try adding some herbs like thyme and rosemary to the seasoning mix.
- Finally, you can use any type of beer you like – from a lager or ale to an IPA or stout!
That’s it – now you know how to make beer can chicken with ease. Enjoy your delicious and flavorful meal!
Conclusion
Now you know how to make beer can chicken – it’s sure to be a hit with your friends and family! Serve it up with some sides and let everyone dig in. Enjoy! If you have any questions or tips, please feel free to leave them in the comments below. Our Chillbeer.net team will get back to you as soon as possible. Happy cooking!