Do you want to impress your friends at your next party? Do you want to be the life of the party? Well, then you need to make a beer helmet! This is a fun and easy project that will make you the hit of any gathering.
In this guide, we will walk you through the steps on how to make a beer helmet. It is really easy, and it only takes a few minutes! So, read this guide and then get started on your project!
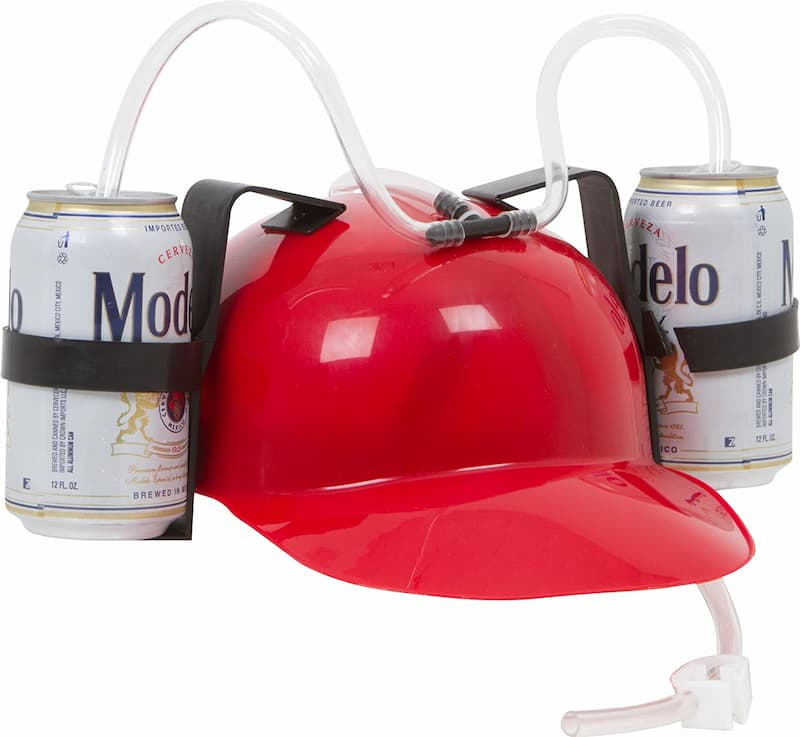
What is a Beer Helmet?
A beer helmet is a wearable container that has two drinking straws attached to it. The helmet allows you to hands-free drink your beverage of choice. It is perfect for parties, tailgating, or any other time when you want to have your hands free but still be able to drink!
There are many different ways that you can make a beer helmet. You can buy one, or you can make your own! If you want to save some money, then making your own is the way to go. Plus, it is really easy to do, meanwhile also know how to stop beer from foaming and use it.
Materials Needed To Make a Beer Helmet
The first thing you need to do is gather your materials. For this project, you will need:
– two-liter soda bottle
– duct tape
– scissors
– marker
– ruler or measuring tape
Now that you have your materials, let’s get started!
How To Make Beer Helmet – Step-by-Step Guide
If you want to make a beer helmet, follow these easy steps given below. Just make sure to have all the materials ready before you start.
Step One: Cut the Bottle
The first step is to cut the soda bottle in half. You will need to use a sharp knife or scissors for this. Be very careful and always ask an adult for help if you are not comfortable using a sharp object. Once the bottle is cut in half, you will need to use the duct tape to seal the cut edge. This will make sure that your beer does not leak out.
Step Two: Make the Drinking Straw Holes
Now, it is time to make the drinking straw holes. Take the marker and make two dots on each side of the bottle top. These dots will be where you will make the holes for the drinking straws.
Next, use the scissors or knife to make two small holes on each side of the bottle top. Make sure that the holes are big enough for the drinking straws to fit through.
Step Three: Attach the Mouthpiece
To attach the mouthpiece, cut a small hole in the side of the bottle. Then, take a strip of duct tape and affix it around the edges of the hole. Once you have done that, insert the mouthpiece into the hole. You can use a straw or a piece of tubing for the mouthpiece. Just make sure that it is airtight so that no beer can leak out.
Step Four: Put It On and Enjoy!
Now, it’s time to put on your new beer helmet and enjoy your favorite beverage! Be sure to adjust the mouthpiece so that it is comfortable for you. You may need to experiment with the placement of the mouthpiece to find what works best for you.
And that’s it! Now you know how to make a beer helmet. So, get out there and show off your new creation! Just be sure to drink responsibly. Enjoy! Also check what is ipa beer and more.
Conclusion
That was all about how you can make a beer helmet at home without spending too much. Stay tuned for more such interesting blog posts. Please feel free to share your feedback or leave a comment below, visit ChillBeer for more information. Happy drinking!